
This will depend on what type of floor you have and what state it is in. There are different considerations for tiling on different surfaces such as wood or concrete as well as for different types of tile (marble, granite, terrazzo and porcelain). It is worth spending time researching these prior to tiling. However, here are some general steps to follow:
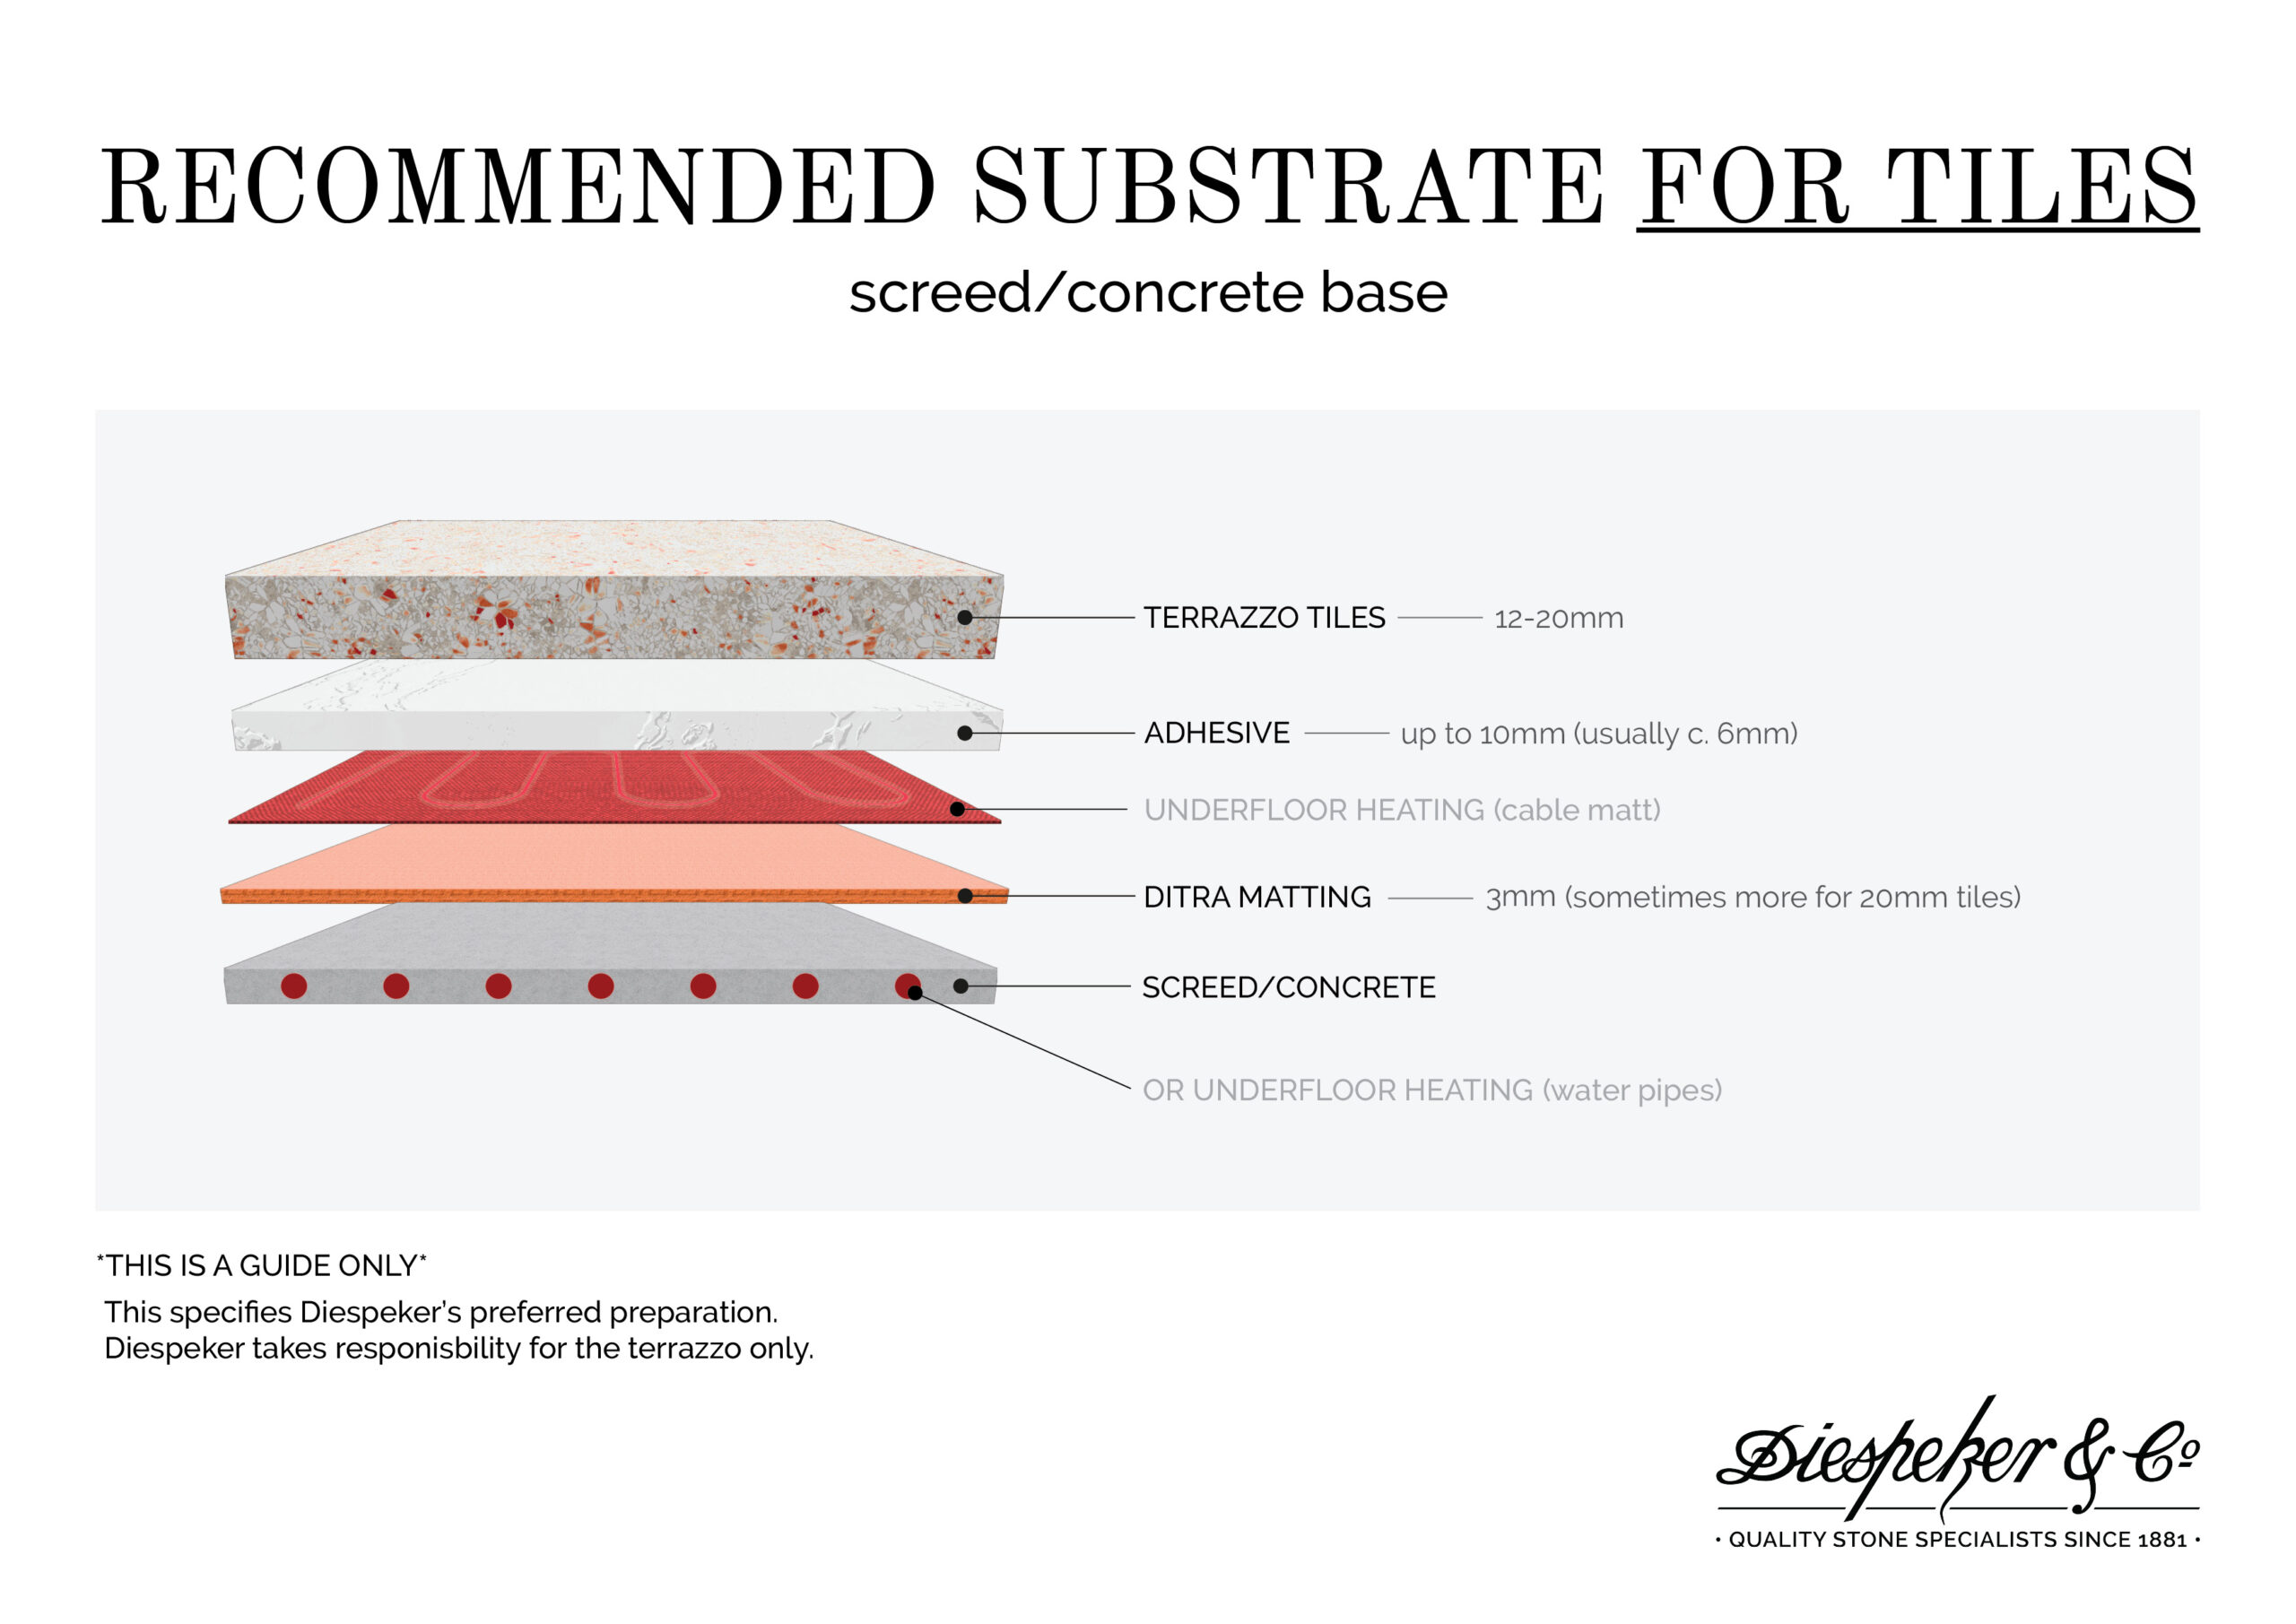
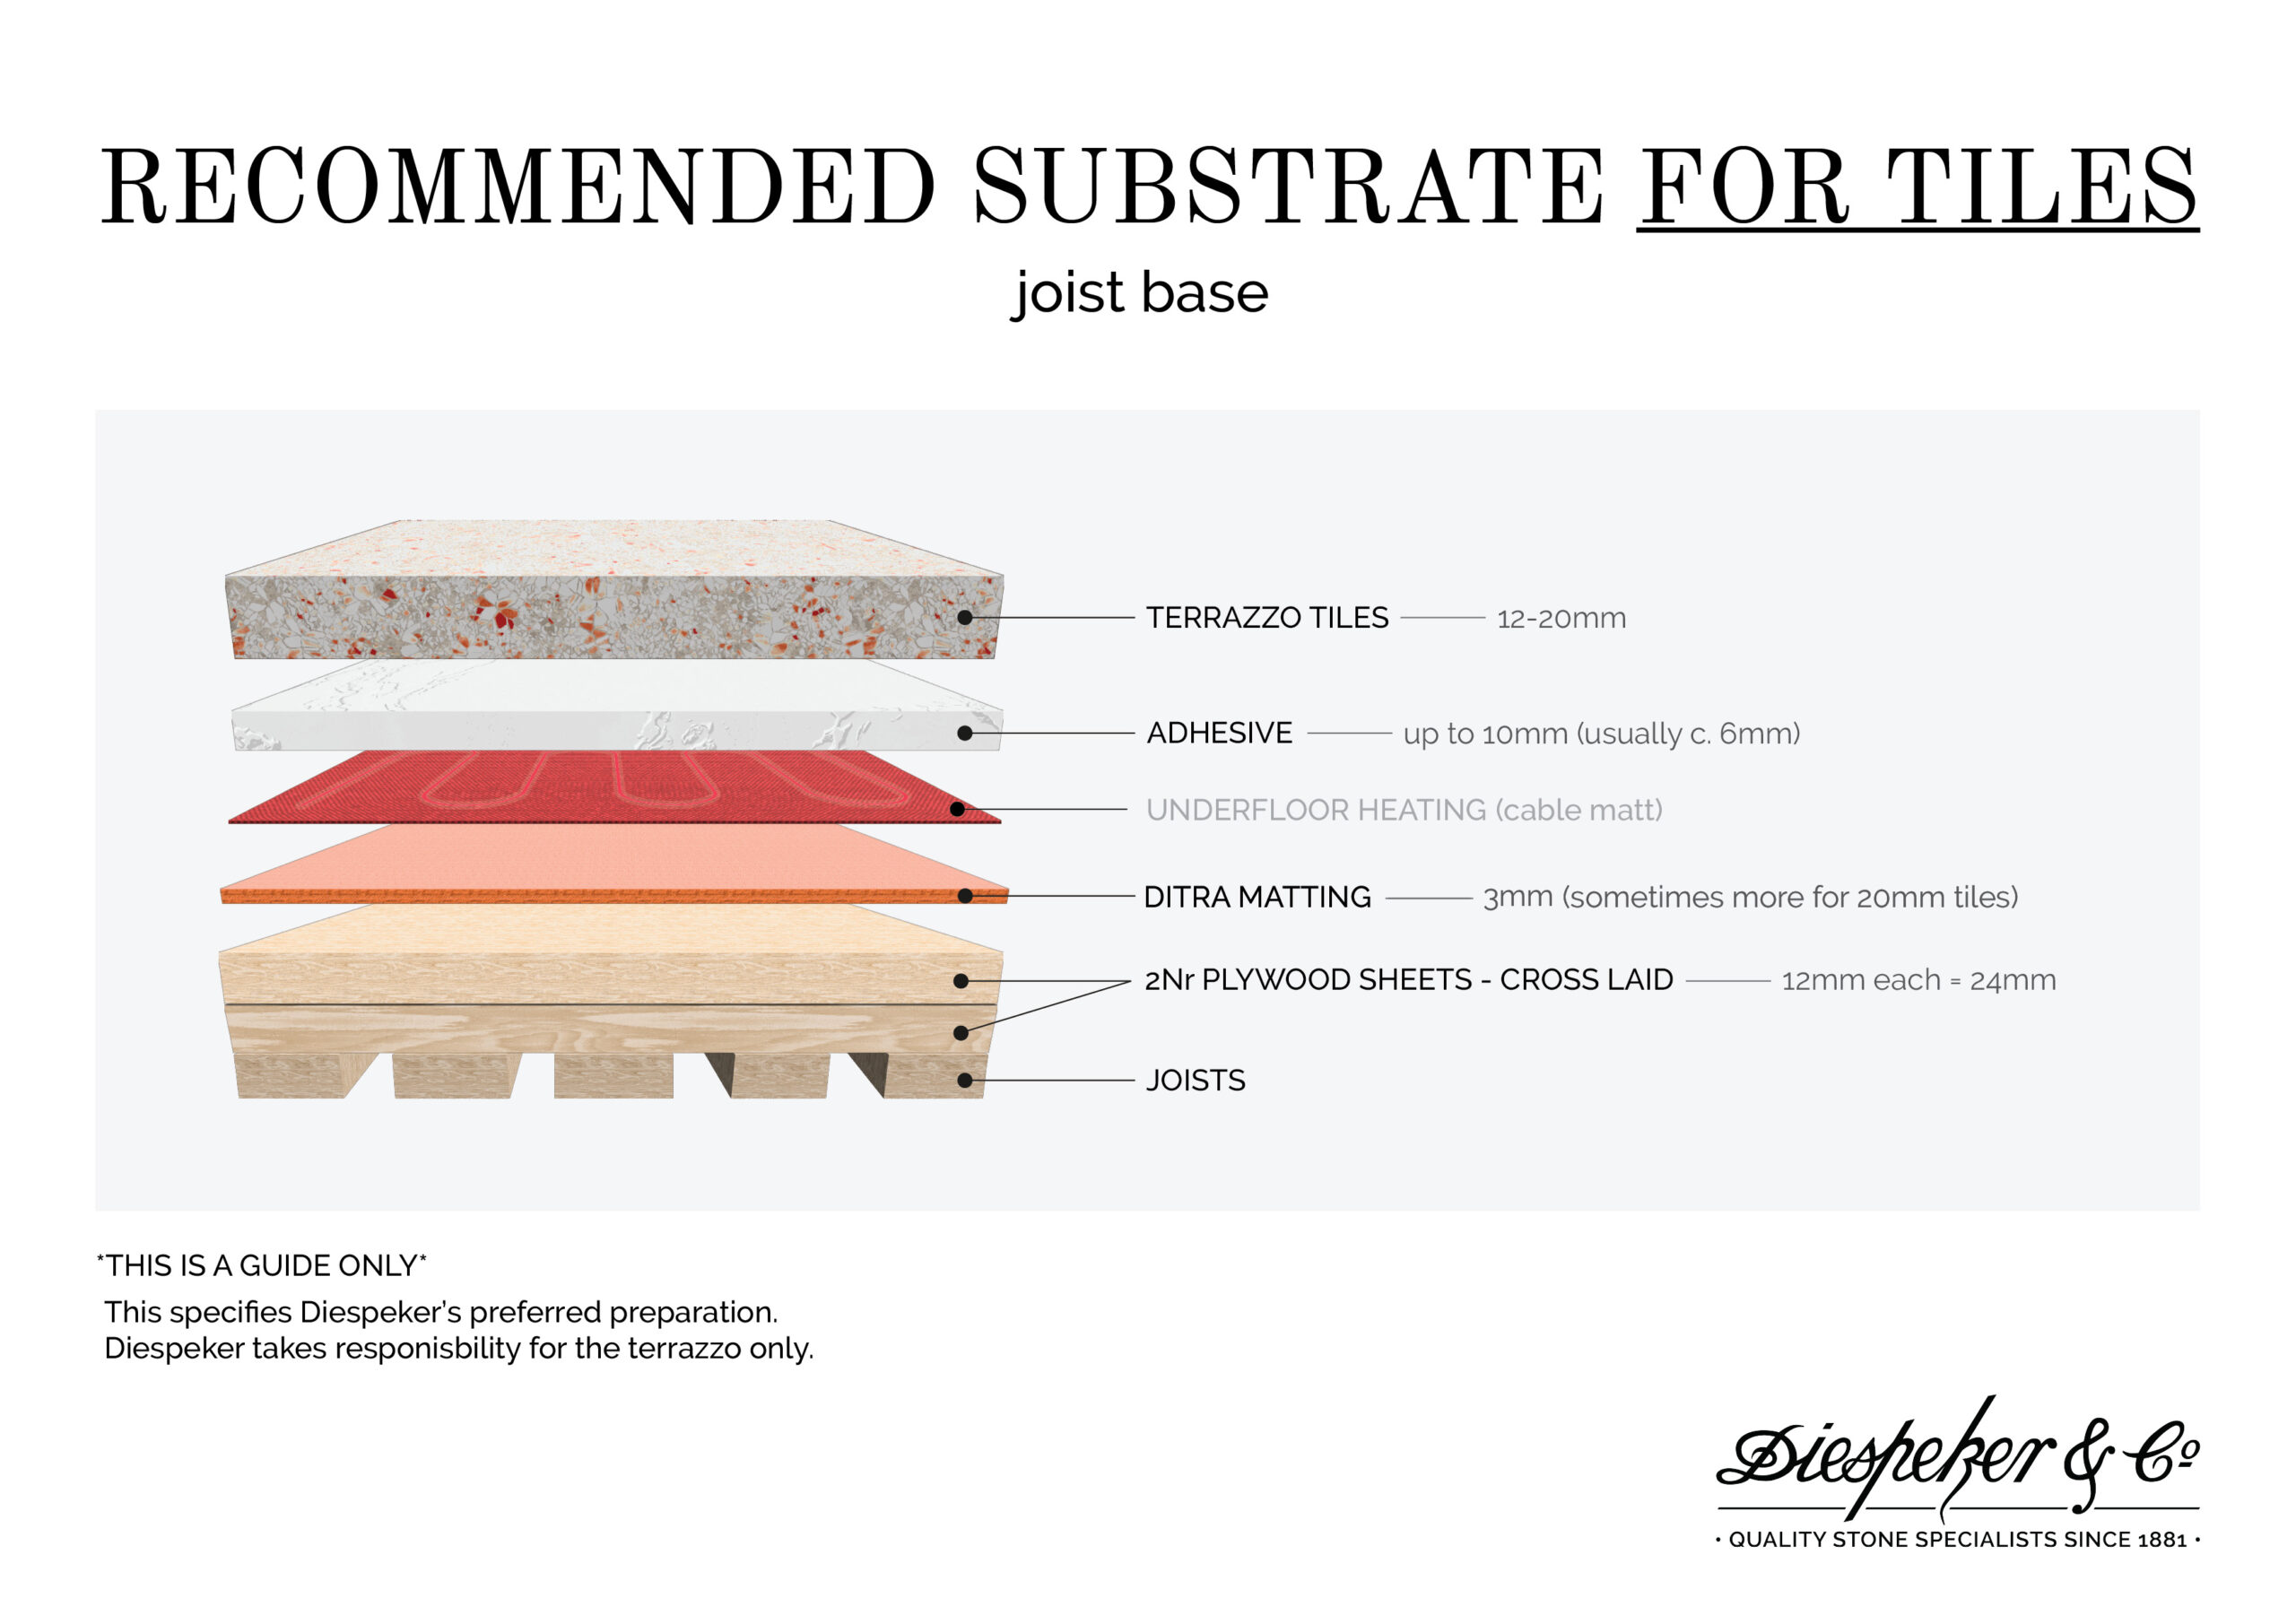
1. Check that the surface you are tiling on to is level: Depending on the surface, you can make adjustments, for example by applying a self-levelling compound or using a plywood substrate. We always advise that Ditra Matting is laid.
2. Ensure that the surface is clean and free of debris: The surface that you will be tiling on should be clean and free of any debris, dust, or other materials that may interfere with the adhesion of the tile to the surface. Use a broom, vacuum cleaner, or damp cloth to clean the surface thoroughly.
3. Check the surface for any damage: Inspect the surface that you will be tiling on for any cracks, holes, or other damage. These should be repaired before tiling to ensure a smooth and level surface.
4. Measure the surface: Measure the surface to determine how many tiles you will need. It’s a good idea to purchase extra in case of any errors or breakages during installation.
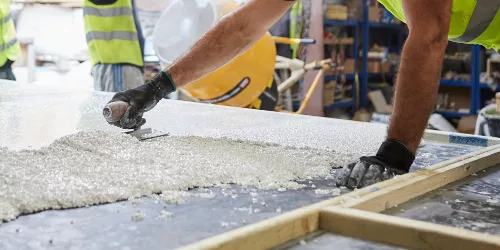
5. Choose the right adhesive: Choose an adhesive that is suitable for the type of tile you will be using and the surface you will be tiling on. Follow the manufacturer’s instructions carefully to mix and apply the adhesive. If the substrate is ply, it needs to have a PVA primer to improve adhesion.
6. Plan the layout: Map out the arrangement of the tiles before beginning installation. This will help you to determine the best starting point and ensure that the tiles are evenly spaced.
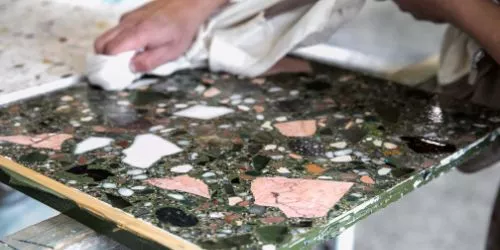
7. Don’t use a rubber mallet on porcelain and terrazzo tiles: The use of this tool can develop cracks in the future.
8. Install spacers: Install spacers between the tiles to ensure that they are evenly spaced and that there is room for grout.
9. Let the tiles set: Allow for the adhesive moisture to dry before sealing the tiles. If the tiles still look wet, let them dry.
10. Apply 2 coats of sealer: One before grouting and the other after the grout is done and set.
Depending on your level of experience and the size of your floor, you may prefer to use an installer from Diespeker, or another professional installer of your choice.


